My Favorite Materials
When I first started making art at age 35, I researched all the pens that the experts were using and bought them all. I was so excited when they arrived. I began testing them all and quickly realized that I hated almost all of them! I was so disappointed! I thought that using their pens would make my art look more magical. I thought that buying all the right materials would make me immediately better. It did not.
When I tried using those new pens my art and lettering looked like crap. Of course it did, I expected too much too soon from my artistic skills. I didn’t give myself permission to be a beginner. Being a beginner can suck. It is hard to try something new and make mistakes. It is disappointing, embarrassing and painful. It can trigger sadness and painful childhood memories.
I didn’t know how to process all my big feelings at the time. All I knew was that I made art and it looked like crap, which in turn made me feel like I was crap and ultimately made me feel like I was not enough. I decided that I never wanted to feel that way again and so I quit making art!
Have you ever felt this way?
I know that I am not alone in this. We as humans don’t like feeling disappointed. We go to great lengths to avoid those feelings. We quit the hobby or activity or we numb out… we shop, we eat, we try anything to stuff our sad and disappointed feelings. I did all of the above… it didn’t make me a feel any better. If anything it made me sadder, fatter, and more broke!
So how did I solve my dilemma? You will have to read more here…
I wanted to share that story with you before I share my list of favorite materials. These materials are awesome. I love using them. I believe that they can help your art making practice be more efficient and more enjoyable. They surely have for me. But don’t fall into the same trap that I did and believe that they will fix your disappointment, sadness and frustration about yourself as a beginner or an artist. They will not fix your mindset.
When your new brushes and paints arrive at your house and you pull them out of the box to try them out, what will YOUR MINDSET say to you?
No matter what it says, I am here to support you on your art making journey with your skills and your makers mindset. I am here to model for you and teach you how to give yourself permission to try new materials and styles, make lots of mistakes, gather information about the products and process and NOT MAKE JUDGMENTS ABOUT YOUR WORTH AND VALUE AS A HUMAN AND ARTIST.
You are not alone and you can do hard things! Join me and we can do it together.
Sending you love & light … happy making!
The materials listed on this site are primarily links on Amazon. As an Amazon Associate I earn from qualifying purchases. This means that your purchase through these links may result in payments to me. That being said, I only suggest supplies that I fully recommend.
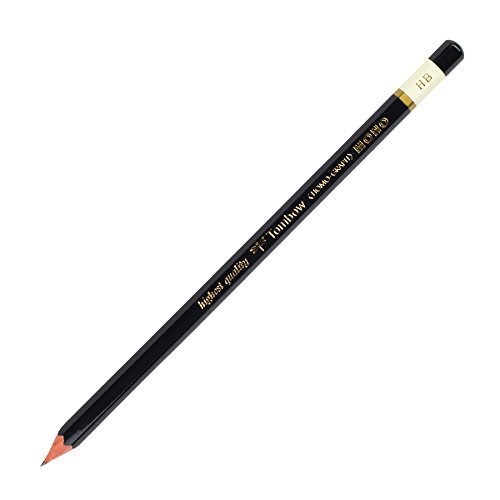
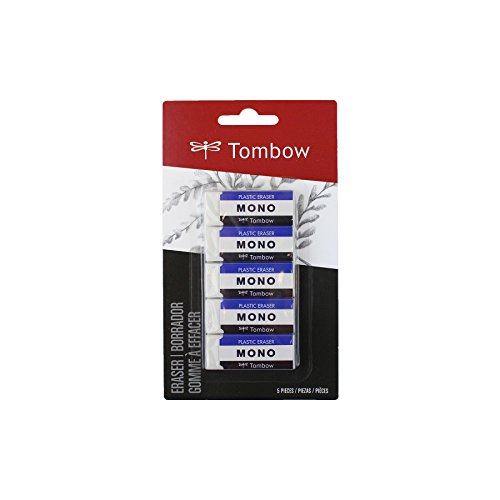
Pencil + Accessories
Practicing with a pencil can be incredibly helpful for laying out designs and spacing. You can erase your mistakes and try again, saving yourself from wasting a lot of paper. Most lettering pencils do not have an eraser attached. Therefore it is important to invest in a good eraser that will clear away the lines on your paper without leaving heavy marks.


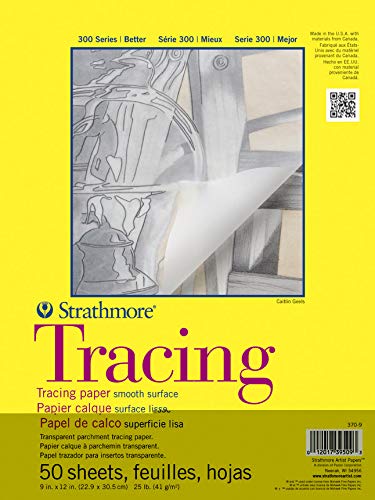
Paper
hand lettering
Start with what you have, like basic printer copy paper, and with time and practice I recommend using a smooth paper because it protects your pen tips and helps your pens to glide more easily along the paper. I also recommend using a gridded paper. It is tremendously helpful in laying out designs and practicing consistency and scale.


Paper
watercolor beginner


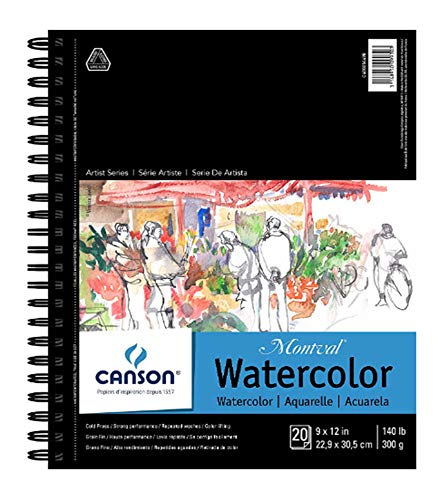
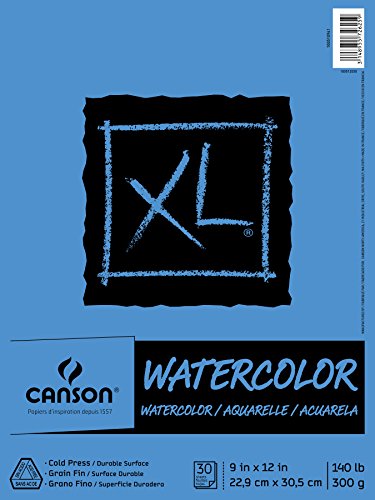
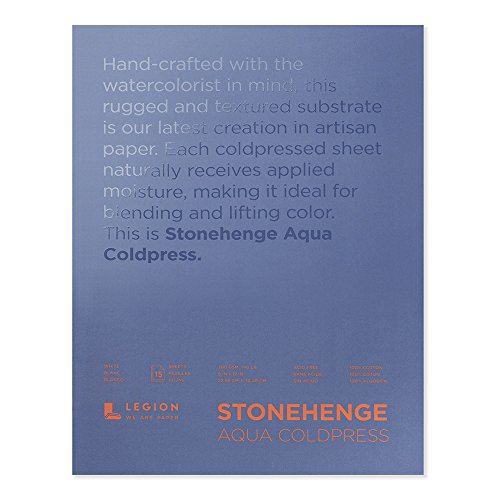
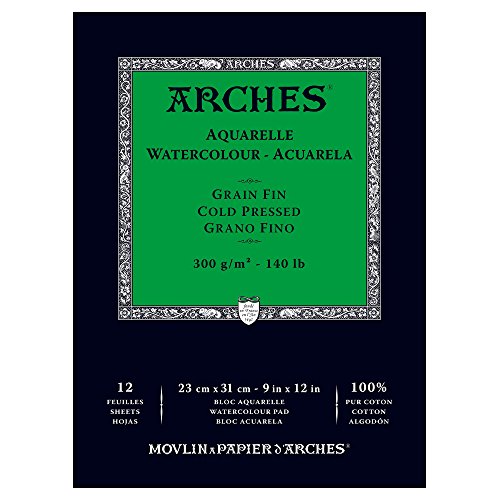
Paper
watercolor Advanced
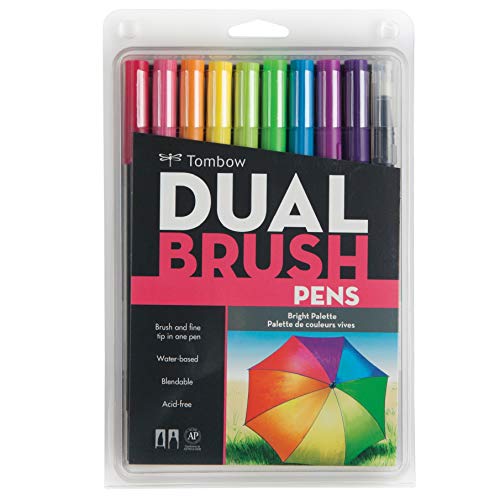
Hand Lettering
Pens
I specialize in a technique called Fauxligraphy which creates the same appearance of thick and thin lines seen in calligraphy but uses a hard nib pen to create the letterforms rather than a flexible nib or brush. This type of lettering looks just like real calligraphy and is a great first step for beginners. Every piece of art that I create uses this technique. I have yet to learn how to use swanky brush pens or formal calligraphy tools. Start where you are and use what you have. It is enough.


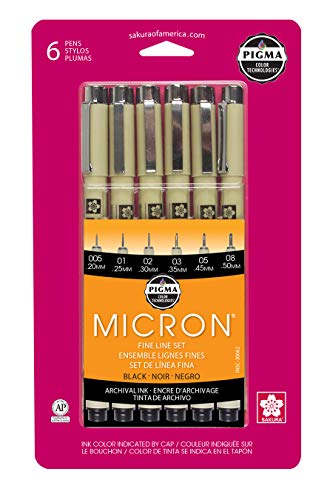
Line Drawing
Pens
These pens have special ink that allows you to watercolor over them and they will not smudge. I will often draw a picture with these pens and then add watercolor on top or I will create a watercolor piece and add details and lines with these pens after the watercolor paint is dry.


Watercolor - Beginner
Brushes
I used Michaels Artist’s Loft brushes as a beginner. They were not available on Amazon. I have not tried the Paper Fashion personally but my dear friend uses them and highly recommends them as a beginner brush.
I love the Aqua brushes. I have tried them filled with water and without. I prefer to use them just as a brush and without water in them.


Watercolor - Advanced
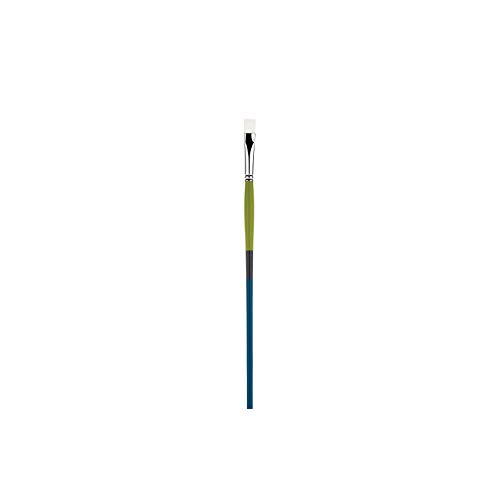
Brushes
I upgraded quickly to the Grumbacher and Princeton snap brushes after I started making art. I learned that I prefer a short handle on my paint brushes rather than long. I feel like have more control over the brush. I also prefer my brushes at a higher size brush like a 10 or 12. My friend prefers smaller sizes including 2, 4, and 6 because there are more precise and allow her to focus on small details. Over time, you will run a lot of experiments and develop a feel for your preferred size as you build your own style and skills.


watercolor - beginner
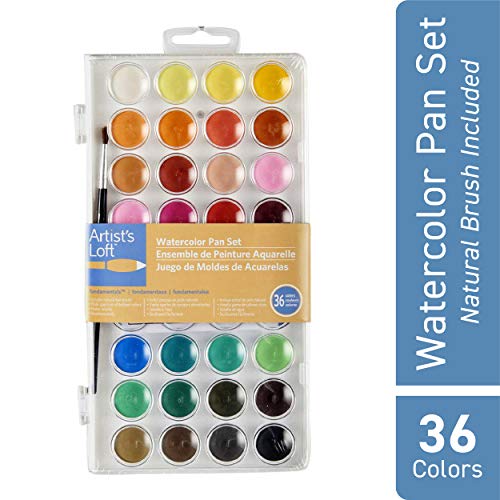
paint
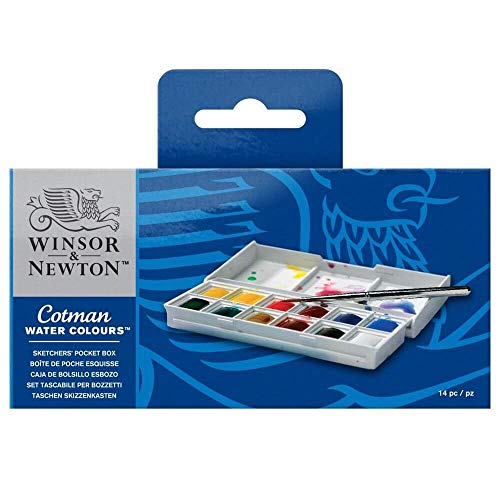
I began making art with this Artist’s Loft set. It was a perfect introduction to watercolor painting and art making. I used that set for a long time before I upgraded to the next level which was the Winsor & Newton Cotman Water Colours.
There is noticeable difference in the quality of the paint when you upgrade. If you can afford it, I would highly recommend just beginning with the Cotman. Even though there are less colors in the Cotman set, you can mix the original twelve colors to make so many color variations.
Watercolor - Advanced
paint
After using the Cotman brand for a few year, I began purchasing individual Professional tubes to explore the difference in color and texture. My palette is currently a mix of beginner level Cotman and Advanced professional paints from Winsor & Newton, Schmiencke, Van Gogh, and Daniel Smith. I am providing a link to one color from each brand. You can research these brands and their selection of colors online at Amazon and other craft supply retailers.
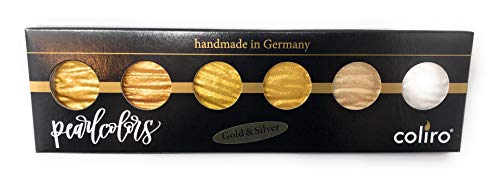
I also listed a gouache tube which is more opaque than watercolor. I also listed a lovely palette of gold and silver watercolor paints which add nice details in flowers and for a splatter technique.


chalk lettering
Pens
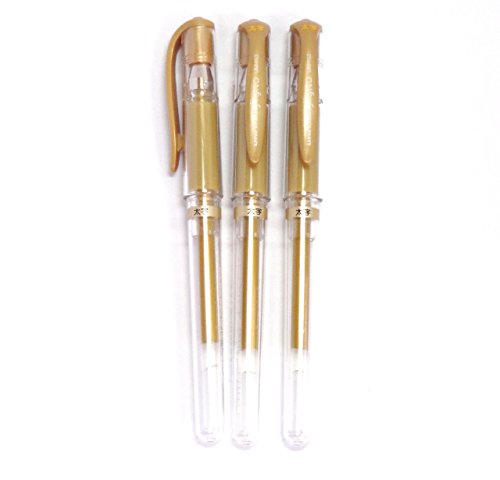
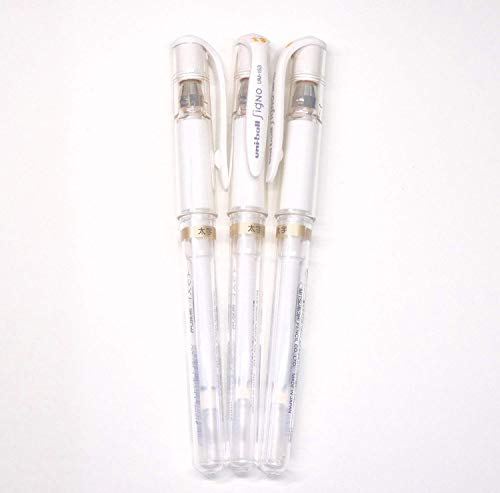
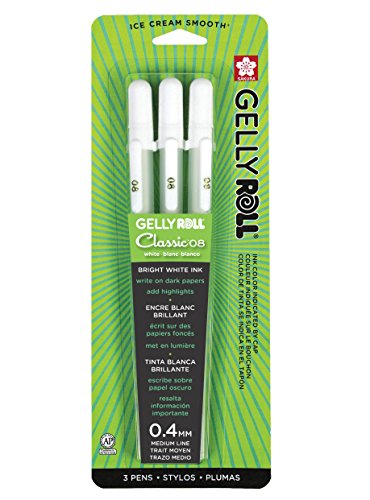
My all time favorite pens to use while chalk lettering are Zig Posterman - White - Size 1mm and 2mm. I have not been able to find them on Amazon so I purchase them at Marker Supply.


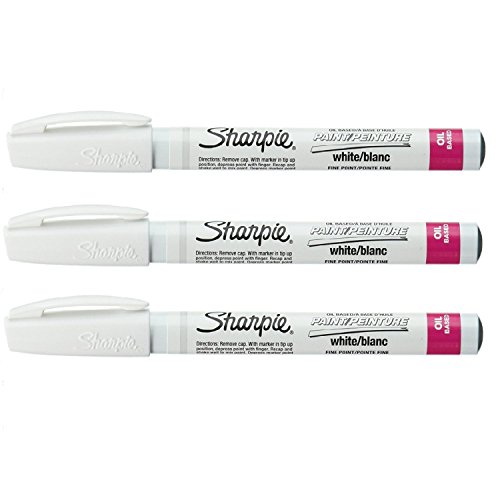
I love using these white pens to letter on black paper or on top of dark watercolor. I also use them to add embellishments to pieces.
Pencils
These pencils are lovely to use on black cardstock for lettering and illustration. They are also good to use on chalkboards for accents and creating guidelines to keep your lettering straight.


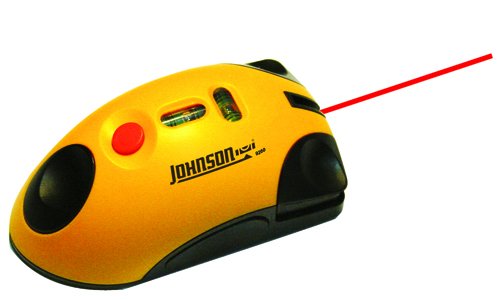
Additional Materials
The Johnson level is a fabulous tool keep your words straight while hand lettering on chalkboards or when addressing envelopes and cards.
The tape is fabulous for securing paper down to a surface and for sectioning off your paper to create intricate design shapes for watercolor projects.